Cloud Softphone Android
First create a device of type SMARTPHONE in your portal and choose Cloud Softphone and Android as type and model.
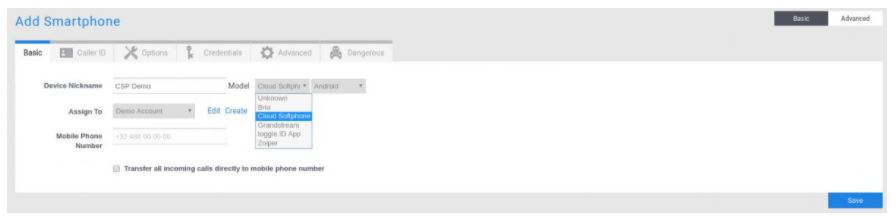
Note: You can chose to transfer all incoming calls directly to the mobile phone number. The app will not be used to receive the calls if you tick this option. (beware that cost are then billed for receiving calls).
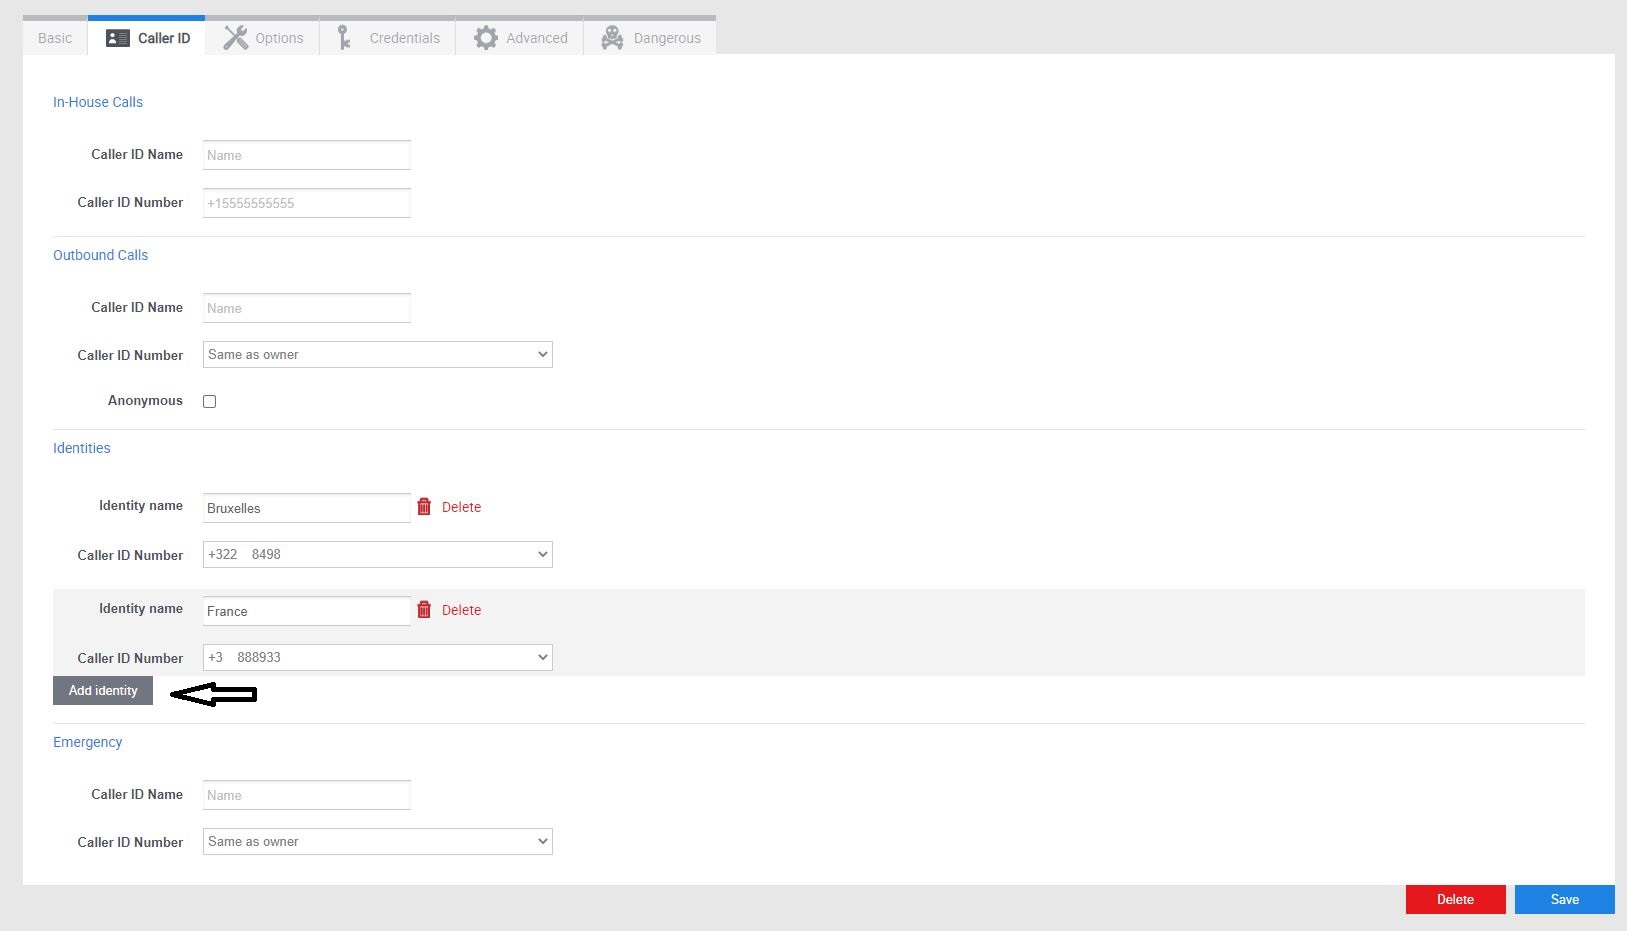
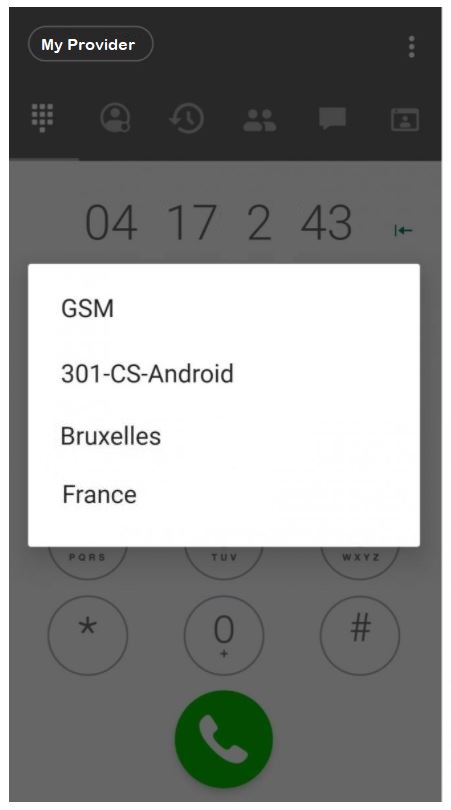
You can configure multiple identities if needed. This will allow you to choose with which identity you want to call.
To do so you have to go to the tab Caller ID. There you can enter the different identities you need.
A QR code will be generated after you have saved the device.
Important: the QR code is only valid for 24h and can only be scanned once! (you can save the device to reset the 24h or you can click “Authorize device deprovisioning” to reset the provisioning)
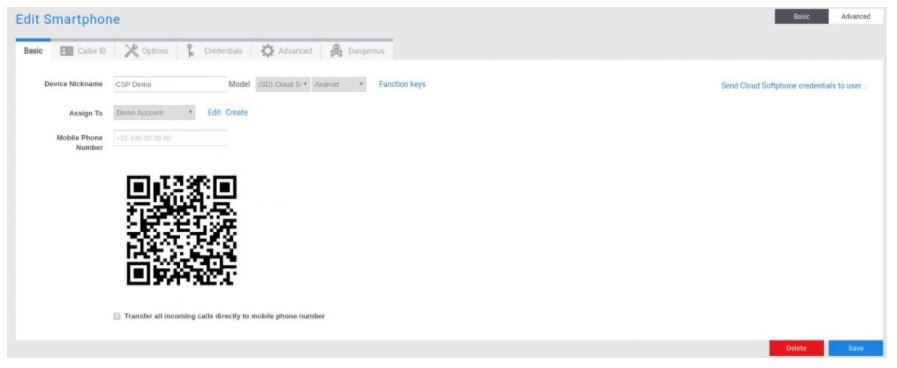
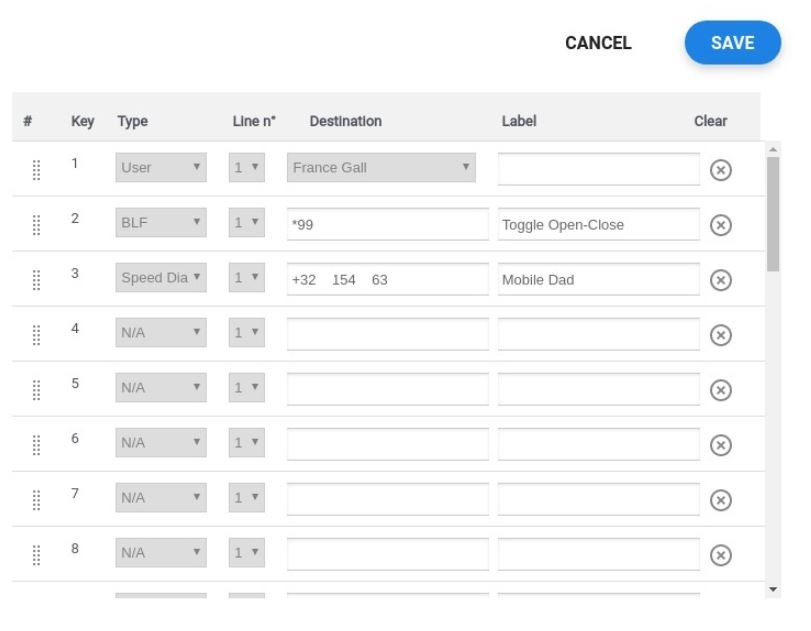
You can eventually configure function keys on the app through the portal. Just click on the function keys link next to the phone model and type.
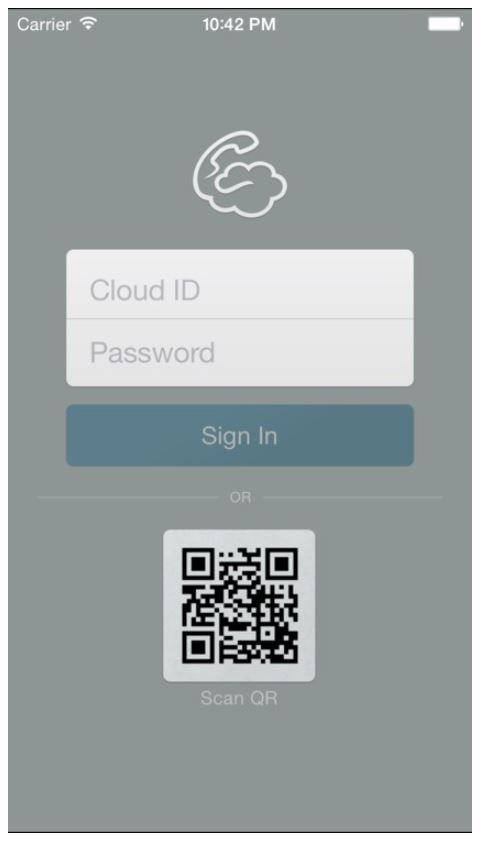
Install Cloud Softphone on the smartphone and allow access to microphone, phone and contacts. Then click on login with QR code (allow the app to use your camera). Scan the QR code with your device. The configuration will be done automatically.
You can start to use the app once it is registered to the server.
Note :
- Incoming calls to this app are done using our push server.
- You can long press on a function key or a contact and select to call from GSM itself/via the Cloud Softphone.
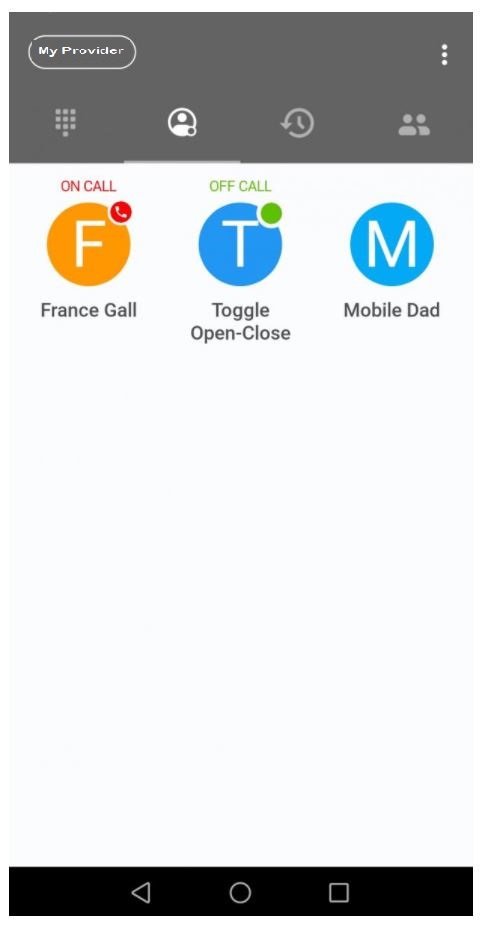
By long pressing the call button or on a contact you will have the possibility to choose the identity from which you want to make the call.
Note: You also have network settings inside the App (Settings > Network) that allows you to change the behavior when switching between Wi-Fi & 4G, this can be useful to fine tune this for certain scenarios.