Caller ID
Our service allows for Caller ID to be set on a device, a user, or an entire account. Generally speaking, Caller ID should be set on the user if each user has a unique DID number.
Caller ID doesn’t need to reflect anything related to the callflow being used or even the particular person making calls. It must simply be a valid Caller ID that can be presented to the person being called.
Caller ID Tips
here are a few things you should consider when setting Caller ID:
- If you have departments (such as support, with a main support number) and you want to avoid customers calling back representatives directly, you should consider displaying the group’s main number and not the specific number of the agent.
- A general account Caller ID should always be set, otherwise features like may not work properly.
Setting Caller ID
Setting Caller ID on the Account level:
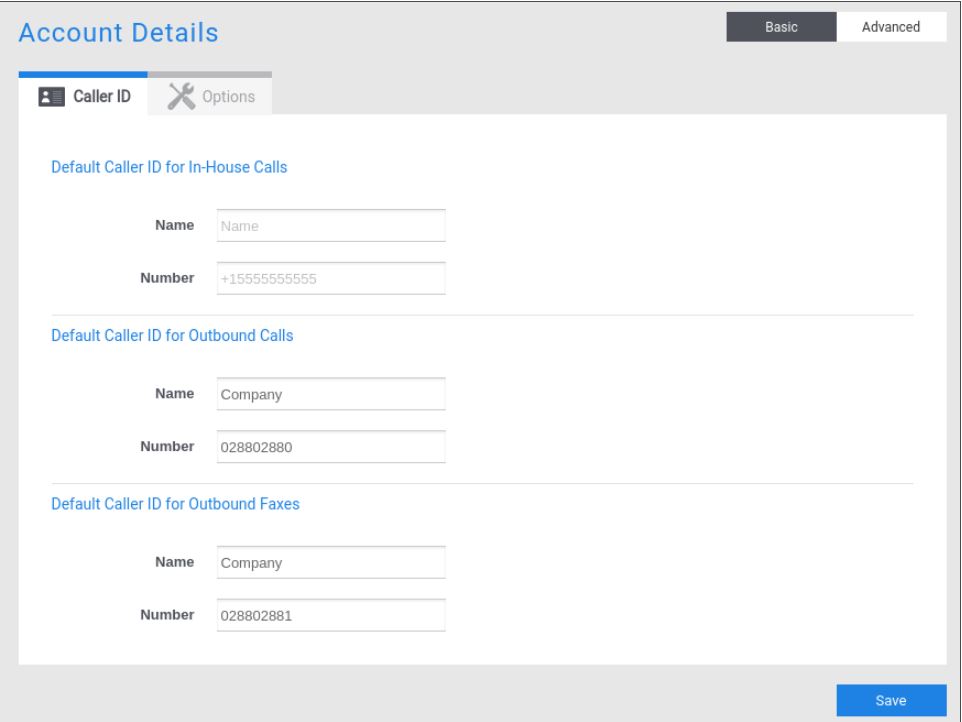
1 – Navigate to the Account Details section of the Hosted PBX.
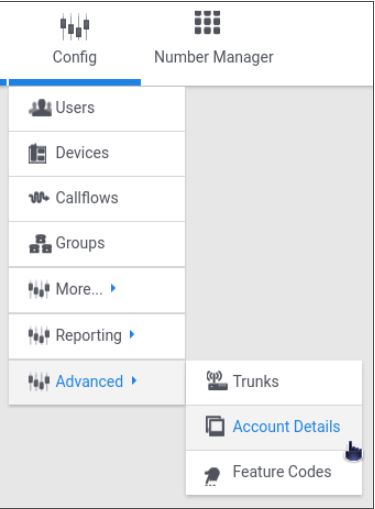
2 – Click on Account Details and fill out the Caller IDs for In-House Calls and Outbound Calls.
Setting Caller ID on the User level:
1 – Navigate to the user management section of the Hosted PBX.
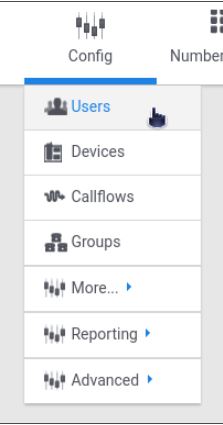
2 – Click on Users and select the user you want to edit / manage to load them in the edit screen. Click on the advanced button and select the Caller ID tab. Fill out the Caller ID fields for In-House Calls and Outbound Calls.
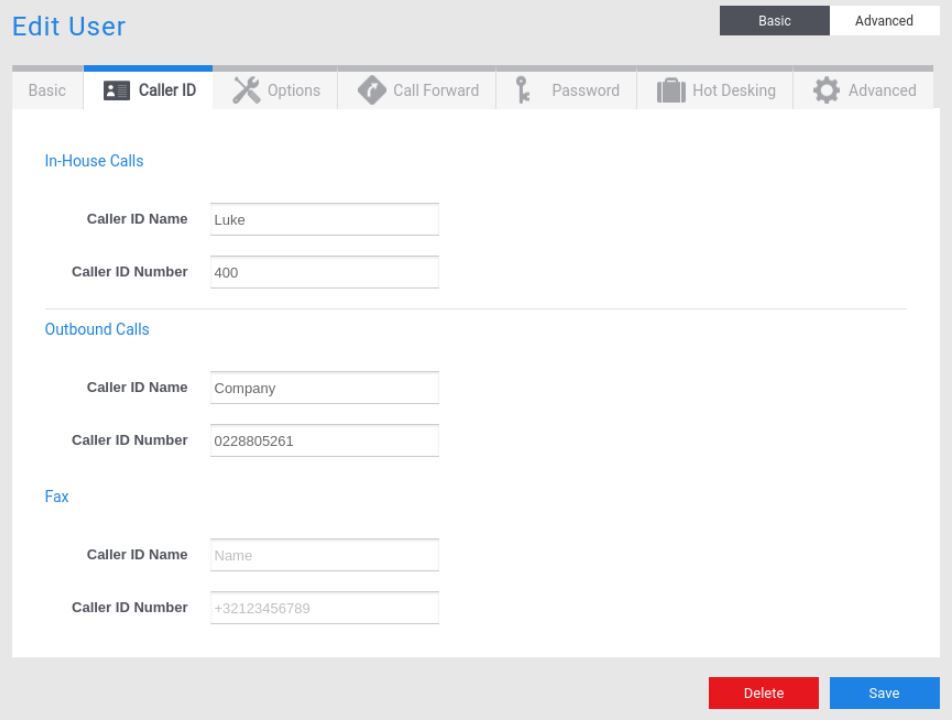
3 – Click the Save button.
Setting Caller ID on the Device level:
1 – Navigate to the device management section of the Hosted PBX.
2 – Click on Device and select the device you want to edit / manange to load them in the edit screen.
3 – Click on the Advanced button on the upper right, then click on the Caller ID tab. Fill out the Caller ID fields for In-House Calls and Outbound Calls.

4 – Click the Save button.
Caller ID Precedence
Because Caller ID can be set in multiple places, it’s important to understand how our service decides which Caller ID to send. When an outbound call is made from the system, we decide what Caller-ID to display in the following order:
Check device first, then user, then account. Use whichever we find first. The use cases are as follows:
1 – If Caller ID is set explicitly on the device, use it. This is useful if a single user has devices in two different locations
2 – If No Caller ID was set on the device (see #1), check if Caller ID is set on the user who owns the device. If so, use it. This allows a single user with multiple devices to have the same Caller-ID across all their devices, even if their devices change over time or they use hot-desking to login / out of a device
3 – If No Caller ID was on the device (see #1) OR the user (see #2), check if the Caller ID is set on the account. If it is, use it. This allows a generic account “main number” to be used when #1 and #2 are not set. You can intentionally not set Caller ID on ANY user or device to always have EVERYONE’S caller ID show up the same way across the entire account, or use this feature as a “fall back” for phones that don’t have a direct dial number or don’t want their Caller ID to show up.
