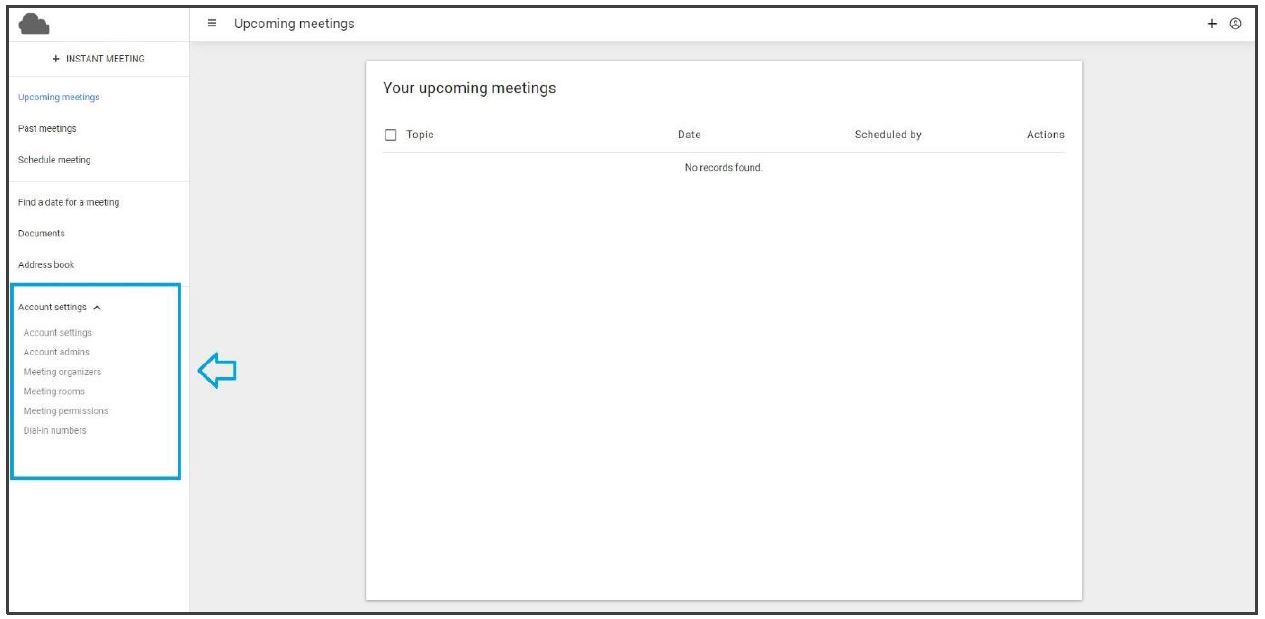
Account Settings
On the bottom left side of your interface you will find your account settings.
Depending on which function of the left side column you have selected, the interface will display the options for this function on the middle area of your screen.
1. Account settings
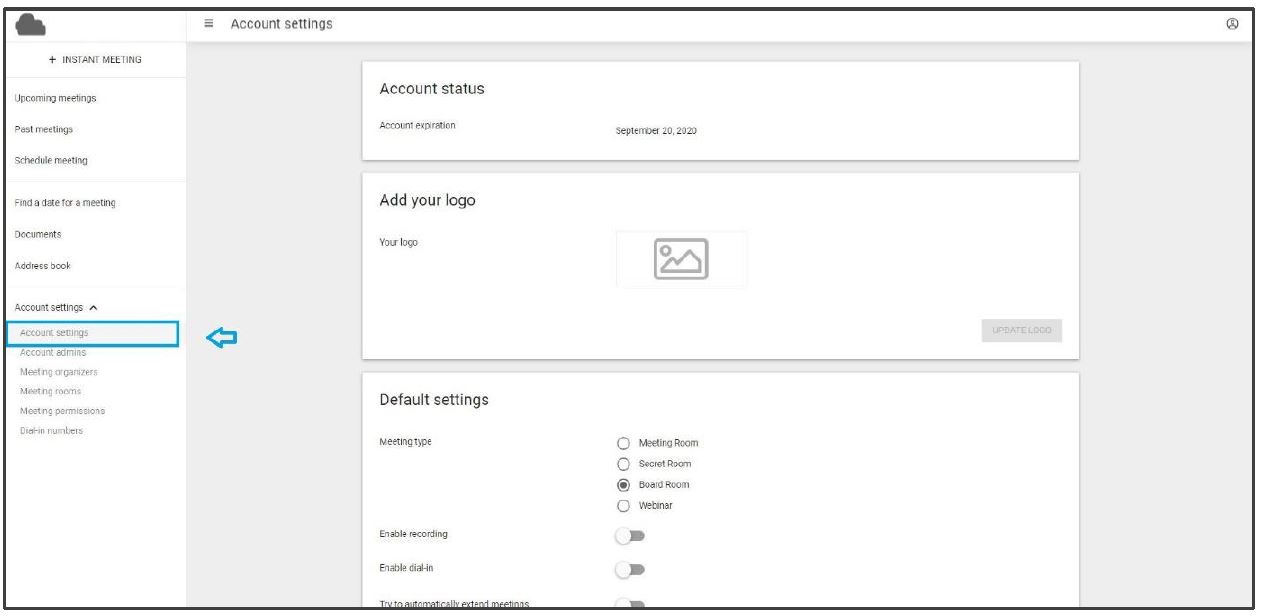
Account status: Here you will find your account expiration date (not applicable if monthly invoiced) Please contact your partner to adapt your account validity if necessary.
Add your logo: Here you can add your personal logo, this will be seen in the meeting room, as well as on the summary documents. To add your logo, click on the ‘logo’ icon and select an image, afterwards click on the blue ‘update logo’ button.
Default settings: Your default settings are used when creating an Instant Meeting or scheduling a meeting room. Here you can choose the preferred meeting type, recording or dial-in (not possible at the same time), extend meetings automatically and set the deletion period for the past meetings. When finished configuring your default settings please click on the blue ‘update’ button.
Billing address: Here you will find your company details / adapt them. When finished configuring your default settings please click on the blue ‘update’ button.
Delete this account: Here you will be able to entirely delete your account (not recommended).
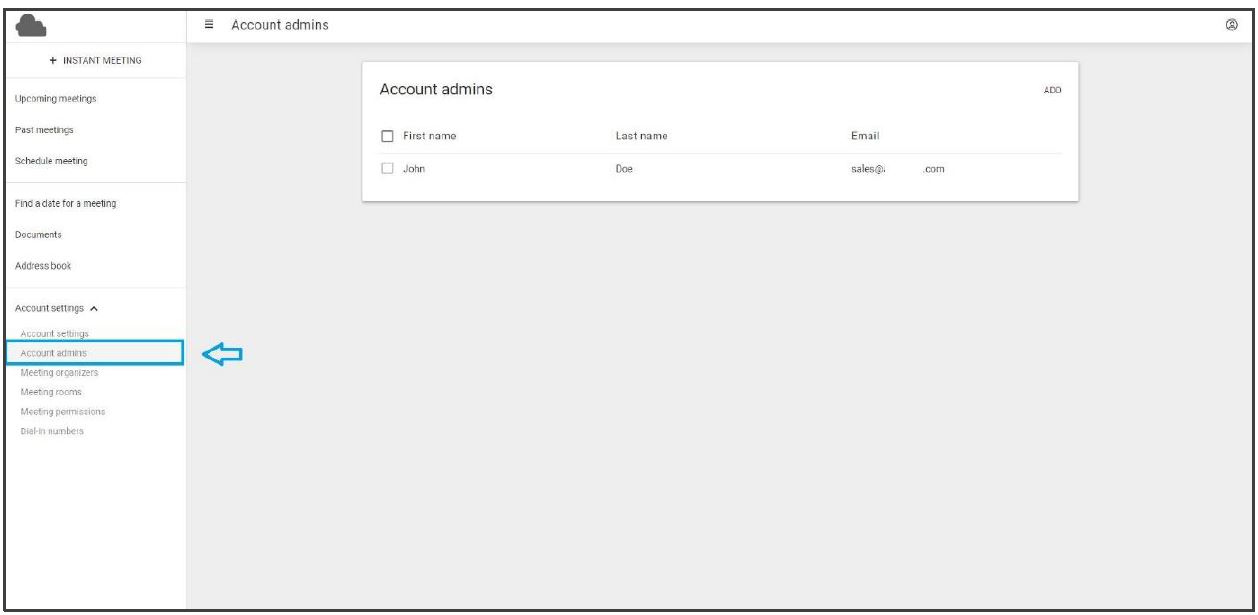
2. Account admins
The account administrator is the person who maintains the Web Meeting account.
As an account admin you can add unlimited extra account admins to your platform at no extra cost. Every account admin will receive a separate login.
To add an account admin, click on the ‘add’ button on the top right of your screen. This will open a drop-down menu where you can fill in the required details. When completed click on the blue ‘add’ button, the credentials will automatically be sent to the account admin and the new account admin will be added to the list below.
As an account admin you can also create unlimited Meeting organizers. Account admins will have access to the account settings. For example, the account admins are the CEO and technical director, the meeting organizer are the sales and receptionists.
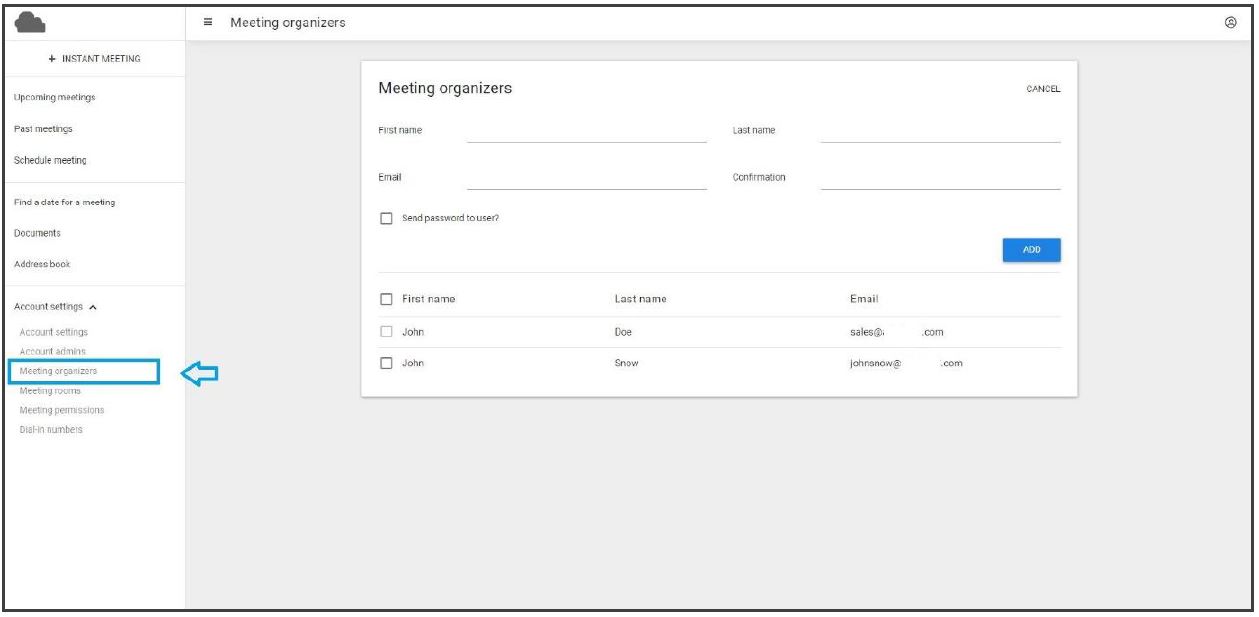
3. Meeting organizers
The meeting organizer is the person who organizes a Web Meeting.
The Account admin can add unlimited meeting organizers to your platform at no extra cost. Every meeting organizer will receive a separate login. Invitations to participants will then be issued on behalf of the meeting organizer.
To add a meeting organizer, click on the ‘add’ button on the top right of your screen. This will open a drop-down menu where you can fill in the required details.
When completed click on the blue ‘add’ button, the credentials will automatically be sent to the meeting organizer and the organizer will be added to the list below.
Meeting organizers don’t have access to the Account settings.
For example, the account admin are the CEO and Technical director, the meeting organizer are the sales and receptionists.
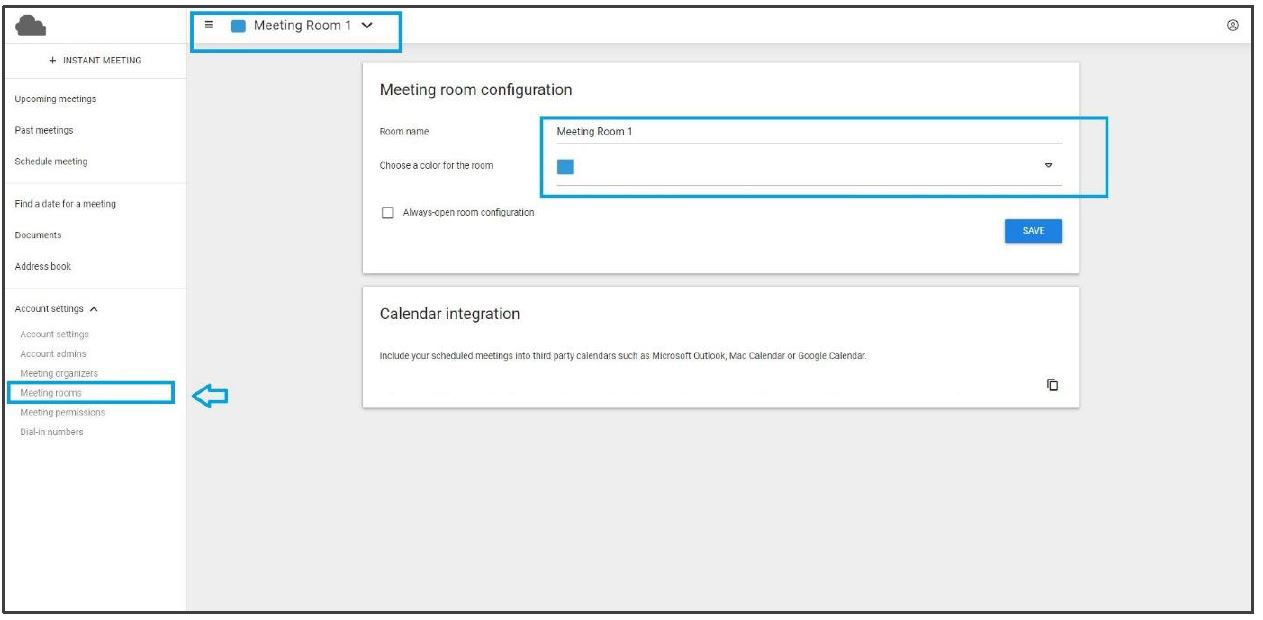
4. Meeting rooms
If you have multiple meeting rooms (to be able to do simultaneous meetings) you can choose to give them a specific name or color.
To choose the room you want to modify, click on the drop-down menu on the top left corner of your screen and select a desired room.
Change the name and color of the room in the configurator. When done click on the blue ‘save’ button.
You can also opt to include your scheduled meetings into third party calendars such as Microsoft Outlook, Mac Calendar or Google Calendar.
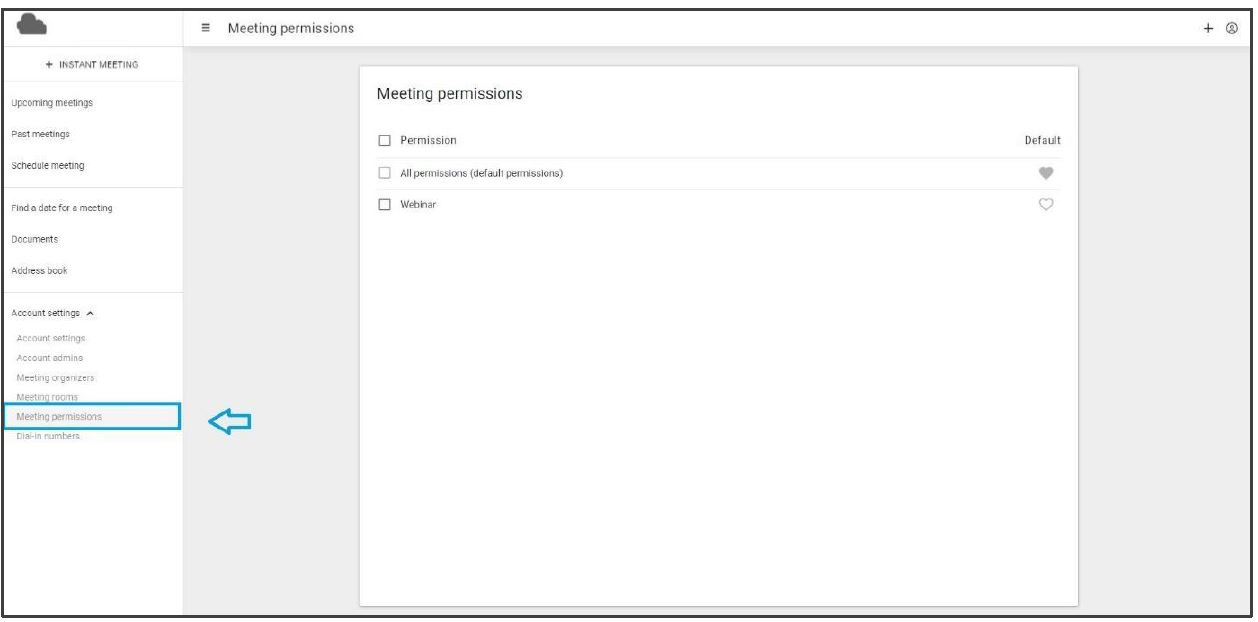
5. Meeting permissions
Meeting permissions allow you to restrict access to features. For instance, you can define that only the moderators are allowed to present a slide deck. It is also possible to completely hide certain tabs.
It is possible to create multiple meeting permission templates and select a different permission set for different meetings.
To create a meeting permissions template, click on the “plus” sign in the upper right-hand side corner.
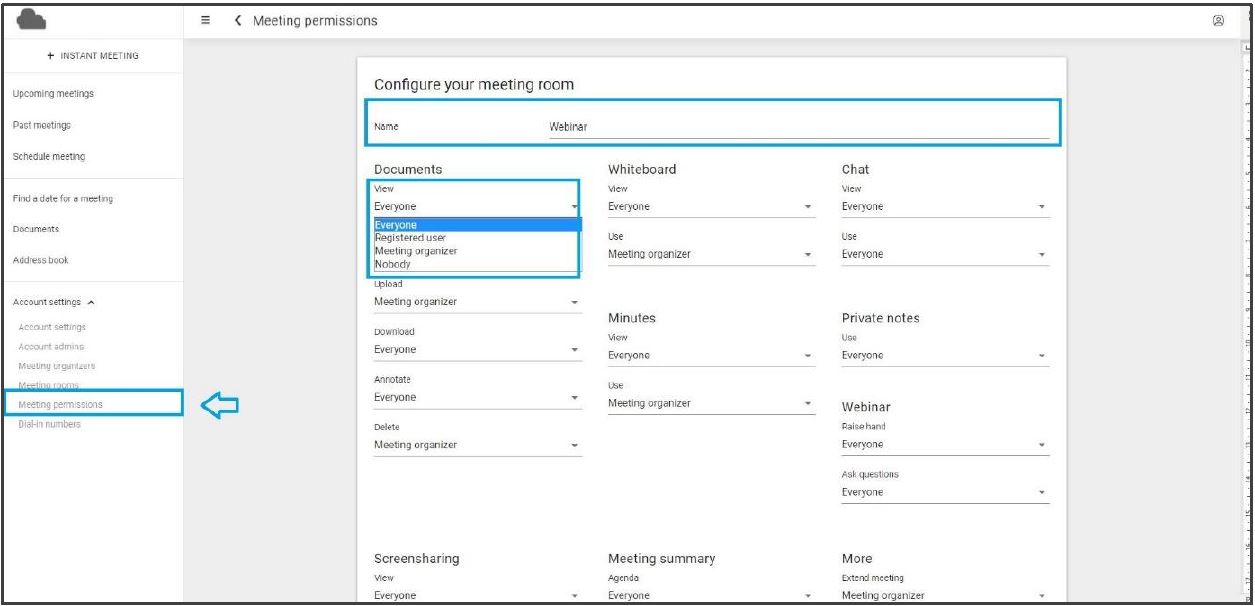
The next screen is the meeting permissions editor. Give your meeting permission a name, for instance “Webinar”.
We then proceed to configure the permissions. For each feature you can define who is allowed to do what. The dropdown lists different options:
- Everyone
- Registered user
- Meeting organizer
- Nobody
A “Registered user” is a user with an account who is currently logged into the system but is not the meeting organizer. The meeting organizer is the person who scheduled the meeting room. (In the webinar context all moderators are recognized as meeting organizers).
Typically, in Webinars you would choose “Everyone” for the “View” option of a feature and “Meeting organizer” for all other options of a feature. To completely hide a feature in the meeting room, select “Nobody” for the “View” option.
Once you have configured all permissions, scroll down to the bottom of the page and click on the blue ‘update’ button.
Your meeting permission will be added to the list. You can choose to set a meeting permission as default by selecting the ‘heart’ icon behind a permission.
By selecting the check box(es) in front of the permission(s) you can select the permission(s) you wish to delete. A red text ‘delete selected permissions’ will appear in the top right corner of the interface. Click this text to delete the permission(s).
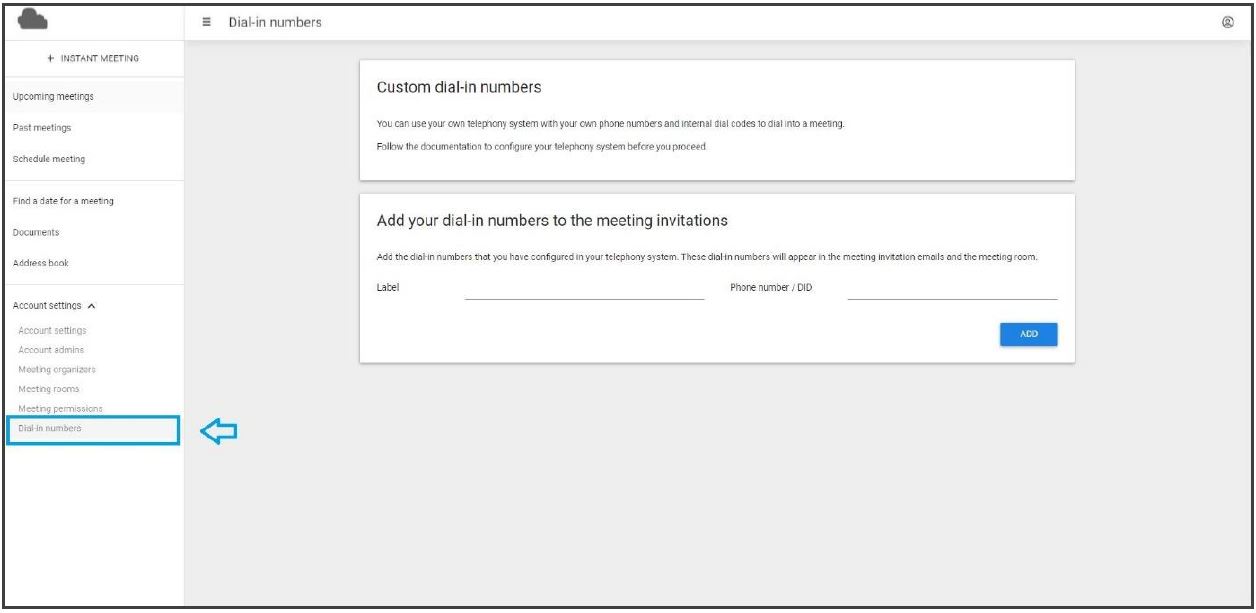
6. Dial-in numbers
You can use your own telephony system with your own phone numbers and internal dial codes to dial into a meeting.
Follow the documentation to configure your telephony system before you proceed.
Add the dial-in numbers that you have configured in your telephony system. These dial-in numbers will appear in the meeting invitation emails and the meeting room.